How to choose a Japan eSIM: data, compatibility and setup
An eSIM is the simplest way to have mobile data in Japan: no shop counter at the airport, no pocket Wi-Fi to charge and return, and no tiny SIM tray to open. You buy a plan online, scan a QR code, and your phone connects to a local network when you land.
This guide explains how to choose and set one up. It is written by the team that runs this shop, so where we describe plans and rules, they are ours. The general advice applies whatever you buy.
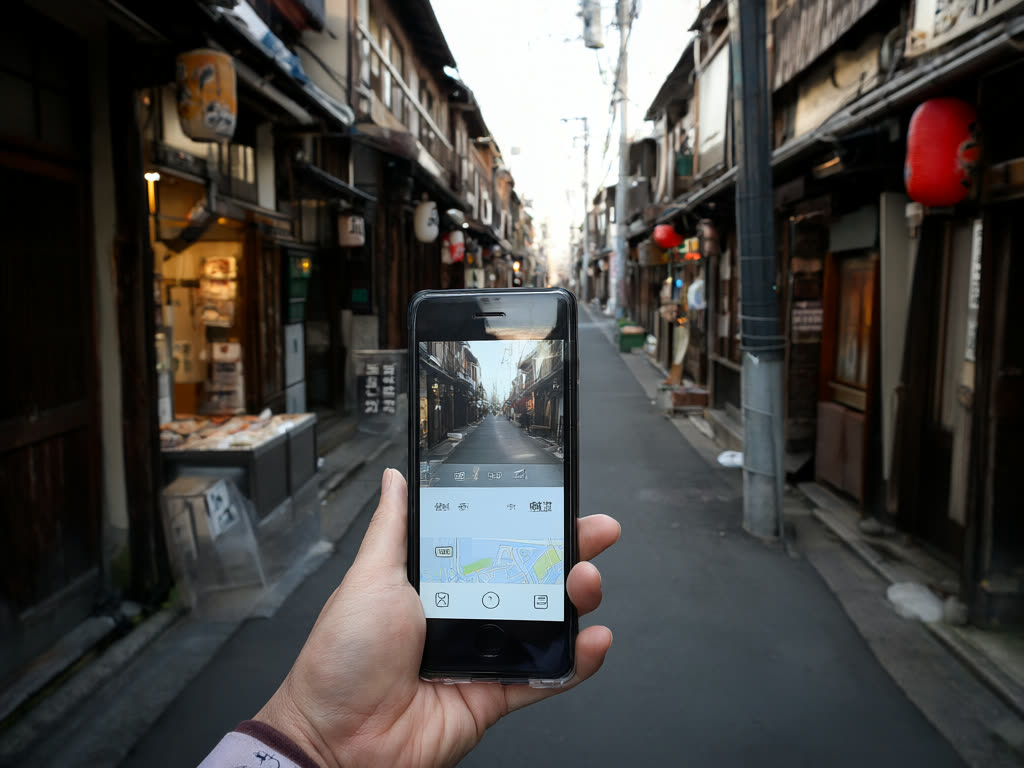
Step 1: check your phone
Two conditions must both be true.
Your phone supports eSIM. Most iPhones from the XS and XR onwards do, as do recent Google Pixel and Samsung Galaxy models and many other Android flagships from 2019 on. There are regional exceptions: iPhones sold in mainland China and some Hong Kong and Macau models use two physical SIMs instead. To check, on iPhone go to Settings, General, About and look for a Digital SIM or EID entry. On Android, dial *#06# and see whether an EID number appears. Our compatible devices page has the full list.
Your phone is carrier-unlocked. A phone bought on contract from a mobile carrier may only accept that carrier's SIMs. If you are not sure, ask your carrier before you travel; unlocking usually has to be requested in advance and cannot be done from Japan in a hurry. An eSIM cannot be installed or will not connect on a locked phone.
Step 2: work out how much data you need
Most visitors overestimate. Hotel Wi-Fi handles the heavy jobs like photo backups and evening video, and what you use outside is mostly maps, messages and search. Rough figures for a day out:
- Light use: maps, route planning, messaging, translation and a little browsing. Roughly 150 to 300 MB a day.
- Typical use: the above plus social media, sending photos and some short videos. Roughly 500 MB to 1 GB a day.
- Heavy use: video calls, streaming, uploading lots of video, or working from your phone. 1.5 GB a day or more.
Navigation and train apps use surprisingly little. Video is what uses data quickly, so if you plan to stream or post a lot of video, choose a larger plan or save those jobs for Wi-Fi.
Matching that to our plans
All our plans are for Japan and include a fixed amount of data for a fixed number of days.
- 1GB / 7 days, ¥480. A short stopover, a weekend, or a backup line for maps and messages while you rely on Wi-Fi.
- 3GB / 15 days, ¥780. A week of light use, or a short city break with some social media.
- 5GB / 30 days, ¥1,100. A typical one to two week trip with everyday use.
- 10GB / 30 days, ¥1,780. Two weeks or more with regular photo and video sharing.
- 20GB / 30 days, ¥2,880. Heavy users, long stays, or anyone who wants to stop thinking about it.
If you are between two sizes, we suggest the larger one. Unused data does not carry over, but running out on day nine of a two-week trip is more annoying than a few hundred yen. If you do run out, you can buy another plan, which comes as a new eSIM to install.
Travelling as a family or group? Each phone needs its own eSIM, and you can buy up to five in one order.
Step 3: understand what you are buying
Data only, no phone number
Our plans are data only. They do not come with a Japanese phone number, so you cannot make or receive normal calls or SMS on the eSIM. In practice most visitors do not need one: messaging apps, internet calls and restaurant booking pages all run over data.
If you need SMS codes from your bank at home, keep your usual SIM installed alongside the eSIM. Modern phones can hold both and let you choose which one carries data. You can leave your home line on for texts while keeping its data roaming off, so you are not charged roaming fees. Check your home carrier's charges for receiving texts abroad.
Sharing data with a hotspot
Personal hotspot is a setting on your phone, not part of the eSIM itself, and anything you share comes out of the same data allowance. If you plan to connect a laptop or tablet regularly, choose a larger plan, and if hotspot use is important to you, write to us before you buy and we will tell you what to expect for your device.
Coverage and speed
The eSIM connects to local Japanese mobile networks. In cities, along main rail lines and at the major sights, coverage is generally good. Speed and coverage depend on the local network, and like any mobile service it can be weaker in tunnels, deep basements and remote mountains.
Step 4: when to install, and when the plan starts
This is the part that causes the most confusion.
The plan starts when the eSIM first connects to a network in Japan, not when you buy it and not when you install it. So you can install at home without losing any days.
Install before you fly, over Wi-Fi. Installing needs an internet connection, which is exactly what you do not have when you step off the plane. We suggest installing one to two days before departure. Every order also has an install-by date shown in your order confirmation; an eSIM not installed by then may no longer be installable, so do not leave it in your inbox for months.
You receive the QR code and installation details on your order page and by email straight after payment. On an iPhone with iOS 17.4 or later, you can also install with one tap from the phone itself. To scan a QR code, show it on another screen or print it.
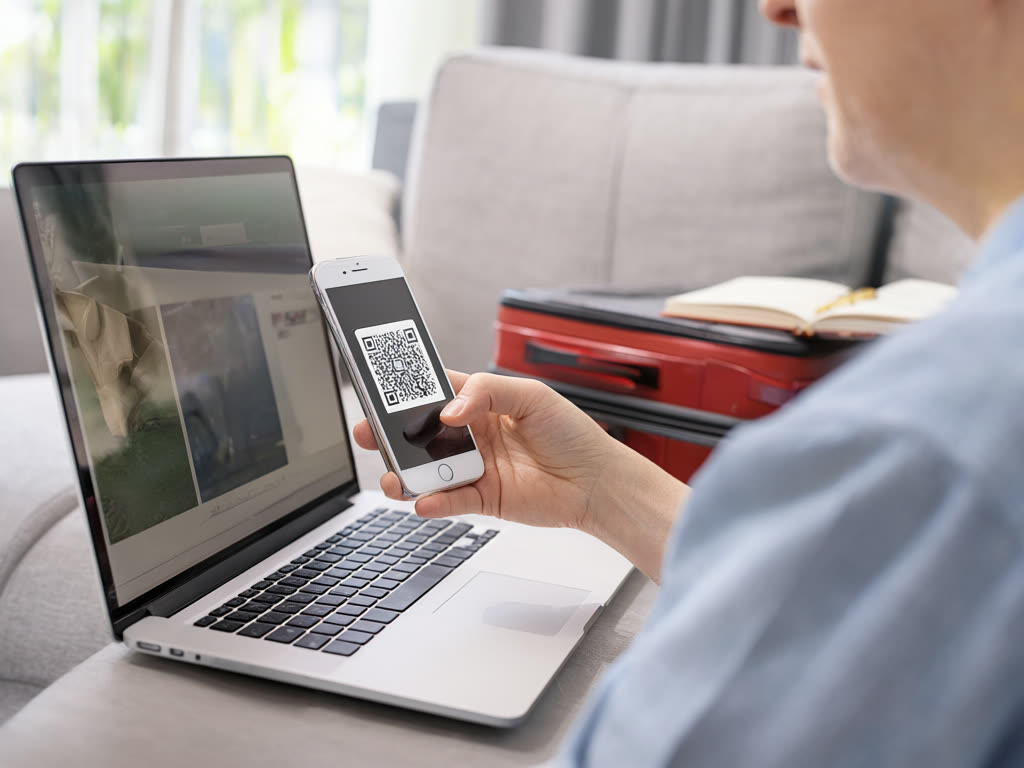
After installing, leave the eSIM switched off, or its data roaming off, until you land. Then:
- Turn the eSIM line on.
- Turn on data roaming for that line. This is normal for travel eSIMs and does not mean extra charges from us.
- Set it as your mobile data line.
- Turn off data roaming on your home SIM if you want to avoid your home carrier's charges.
A few rules worth knowing before you buy
- One phone only. Once installed, an eSIM works on that device and cannot be moved to another phone. Install it on the phone you will actually carry.
- Do not delete it during your trip. A deleted eSIM cannot always be reinstalled, and we do not issue replacements. If something looks wrong, contact us first.
- Refunds. An installed eSIM cannot be refunded, because it is consumed once installed. If you think you bought the wrong plan, write to us before installing. If the eSIM cannot be installed or cannot connect and our support cannot fix it, we refund in full. This does not apply if the cause is a phone that does not support eSIM or is carrier-locked, so check your phone before you buy.
If it does not connect
Most connection problems are a setting, not a fault. Work through these in order:
- Check data roaming is turned on for the eSIM line.
- Check the eSIM is selected as the mobile data line.
- Turn airplane mode on, wait ten seconds, and turn it off.
- Restart the phone.
- In the network settings for the eSIM, make sure network selection is set to automatic.
If it still does not work, email our support with your order number and a screenshot of your mobile data settings. We are a small team based in Asakusa and read every message.
What you will use it for
In our experience the data gets used for the same handful of things: route apps on the trains (see our guide to Tokyo trains and IC cards), maps through side streets, camera translation for menus and ticket machines (useful in any ramen shop), and checking opening times before crossing town. None of that needs a huge plan, but all of it is much easier when it works the moment you land.
Pick a plan, install at home, connect on landing
Our Japan plans start at 1GB for 7 days. Your QR code arrives right after payment, and the days only start counting when the eSIM first connects in Japan.
Japan eSIM from ¥480