How to install a Japan eSIM on iPhone (before you fly)
Install your Japan eSIM at home, over Wi-Fi, one or two days before you fly: on iOS 17.4 or later tap the install link on the phone itself, or go to Settings, Cellular, Add eSIM and scan the QR code from another screen. Then leave the new line switched off. When you land, turn the line on, switch on Data Roaming for that line, and choose it as your Cellular Data line. The whole process takes about five minutes at home and one minute at the airport.
Below are the steps and the errors people most often hit. It assumes an iPhone XS, XR or later that is carrier-unlocked; if you are not sure, read how to check if your phone is carrier-locked first.
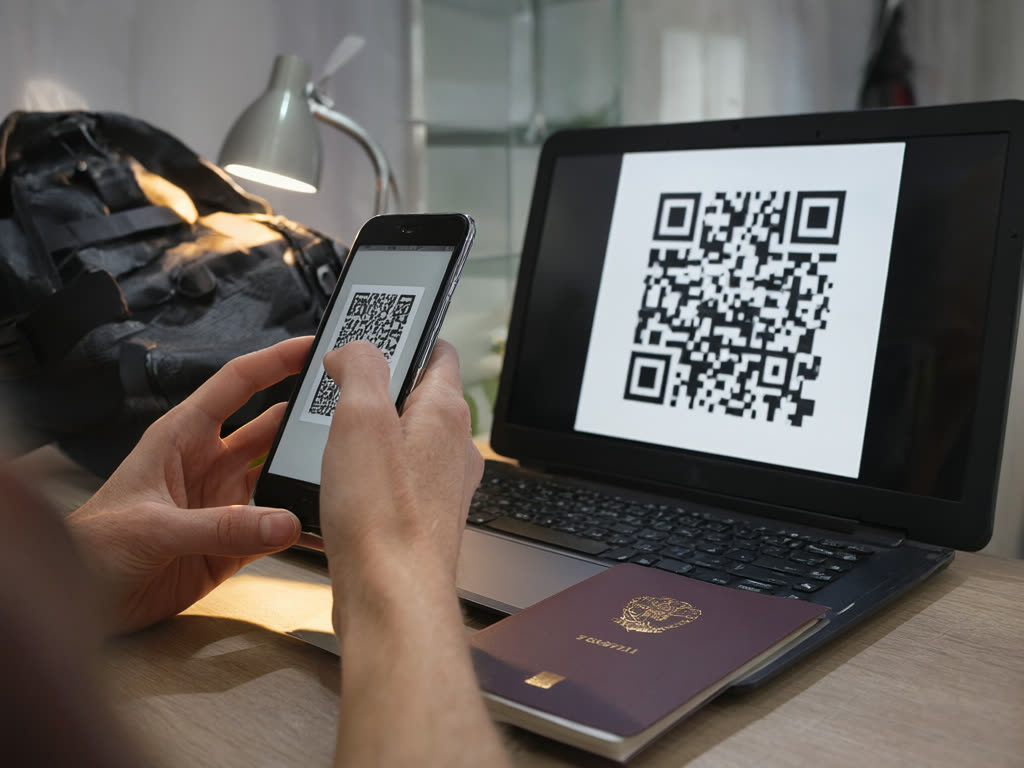
Before you start
- Check the lock. Settings, General, About, then look at Carrier Lock. It should say "No SIM restrictions". If it shows anything else, ask your carrier to unlock the phone before you travel.
- Update iOS if you can. One-tap install needs iOS 17.4 or later; scanning a QR code works on older versions.
- Be on Wi-Fi. Installing downloads the eSIM profile, so you need a connection.
- Have the QR code on a second screen (laptop, tablet or a printout) if you plan to scan it. You cannot scan a QR code that is displayed on the same phone, which is what the one-tap link is for.
Menu names differ slightly by region and iOS version. Where this page says Cellular, your phone may say Mobile Data or Mobile Service.
Step 1: install at home
Option A: one tap (iOS 17.4 or later)
- Open your order page or the order email on the iPhone you will travel with.
- Tap the iPhone install button.
- Follow the prompts: tap Continue, then confirm adding the plan.
Option B: scan the QR code
- Open the QR code on another screen.
- On the iPhone, go to Settings, Cellular, Add eSIM (on older iOS versions: Add Cellular Plan), then choose Use QR Code.
- Point the camera at the code and tap Continue when the plan is detected.
You can also simply open the Camera app, point it at the code, and tap the "Cellular Plan Detected" banner.
Option C: enter the details manually
If scanning fails, go to Settings, Cellular, Add eSIM, Use QR Code, then tap Enter Details Manually and type the SM-DP+ address and activation code shown on your order page. Copy them exactly; a single wrong character will fail.
Do this only once. Each eSIM is meant to be installed a single time, on one phone, so do not scan the same code on a second device.
Step 2: label it and choose lines
During installation, the iPhone asks a few questions. Suggested answers for a travel data eSIM:
- Label: choose Travel, or type "Japan". This makes the later steps much easier.
- Default line (for calls and texts): keep your home number. Our eSIM is data only and has no phone number.
- iMessage and FaceTime: keep your home number.
- Cellular Data: for now, keep your home line. You will switch after landing.
Step 3: switch it off until you land
Go to Settings, Cellular, tap the Japan line, and turn off Turn On This Line. Alternatively leave it on but make sure Data Roaming is off for it. Either way, nothing connects before you arrive.
Our plans start counting days when the eSIM first connects to a network in Japan, so installing early does not use up any days. Do check the install-by date in your order confirmation and install before it. More on timing in when does an eSIM plan start.
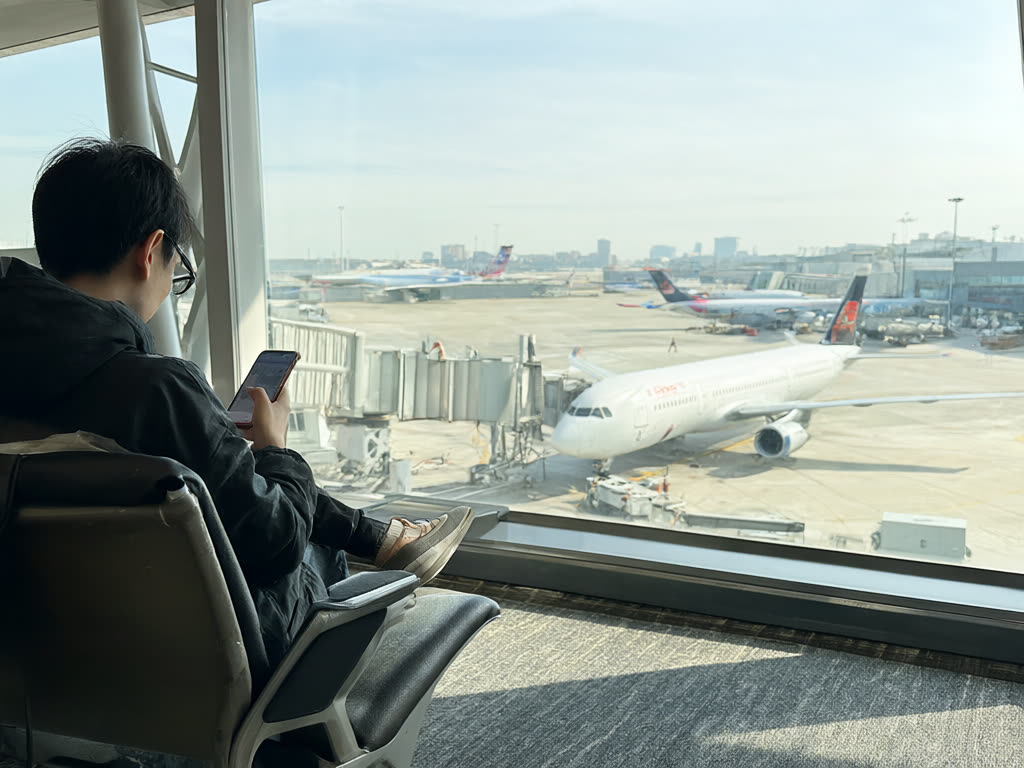
Step 4: turn it on after landing
Once the plane is on the ground in Japan:
- Settings, Cellular, tap the Japan line, and turn on Turn On This Line.
- On the same screen, turn on Data Roaming. A travel eSIM always counts as roaming; this does not cause extra charges from us.
- Go back to Settings, Cellular, Cellular Data and choose the Japan line.
- Turn off Allow Cellular Data Switching, so the phone does not fall back to your home line's data.
- Tap your home line and turn off its Data Roaming, so your home carrier cannot charge you for data. You can keep the line itself on to receive texts; check your carrier's charges for that. See avoiding roaming charges in Japan.
Within a minute or so you should see a network name and 4G or 5G at the top of the screen, depending on where you are.
Common errors and what to do
- "Cellular Plan Cannot Be Added" or "This code is no longer valid". Usually the code has already been used, often because the first attempt actually succeeded. Look in Settings, Cellular: if a new line is listed, the eSIM is installed and you are done. Do not keep rescanning. If no line appears, contact us with your order number.
- "Unable to Complete Cellular Plan Change". Often a connection problem during download. Check you are on a stable Wi-Fi network, turn off any VPN, restart the phone and look in Settings, Cellular to see whether the plan installed anyway. This message can also appear on a carrier-locked phone, so check Carrier Lock again.
- "SIM Not Supported" or the line never activates. This usually points to a carrier lock. Only your home carrier can remove it.
- Installed, but no service after landing. Work through: line turned on, Data Roaming on for that line, Japan line chosen for Cellular Data, airplane mode on for ten seconds and off, restart. In the line's Network Selection setting, make sure Automatic is on.
- Data works but is slow in one spot. Coverage is 4G/5G where available, and it can be weak underground, in tunnels and in mountains. Move a little and try again before changing settings. See eSIM coverage in rural Japan.
Mistakes to avoid
- Deleting the eSIM to "start over". A deleted eSIM cannot always be reinstalled and we cannot issue a replacement. If something looks wrong, contact us before removing anything.
- Installing on the wrong phone. Once installed, it stays on that device and cannot be transferred.
- Leaving home-line roaming on. Your home carrier's roaming charges can be far higher than the eSIM itself.
Quick answer: at home on Wi-Fi, tap the install link (iOS 17.4 or later) or go to Settings, Cellular, Add eSIM and scan the QR code. Label it Travel, keep your home number for calls, and switch the line off. After landing: turn the line on, turn on its Data Roaming, select it under Cellular Data, and turn off Data Roaming on your home line.
On Android instead? See how to install an eSIM on Android. For the full picture of choosing a plan, read the Japan eSIM guide, and check our FAQ for refund and validity rules.
Last updated: 18 October 2026.
Get your QR code in seconds
Your QR code and one-tap iPhone install link arrive on your order page and by email right after payment. The days only start when the eSIM first connects in Japan.
Japan eSIM from ¥480